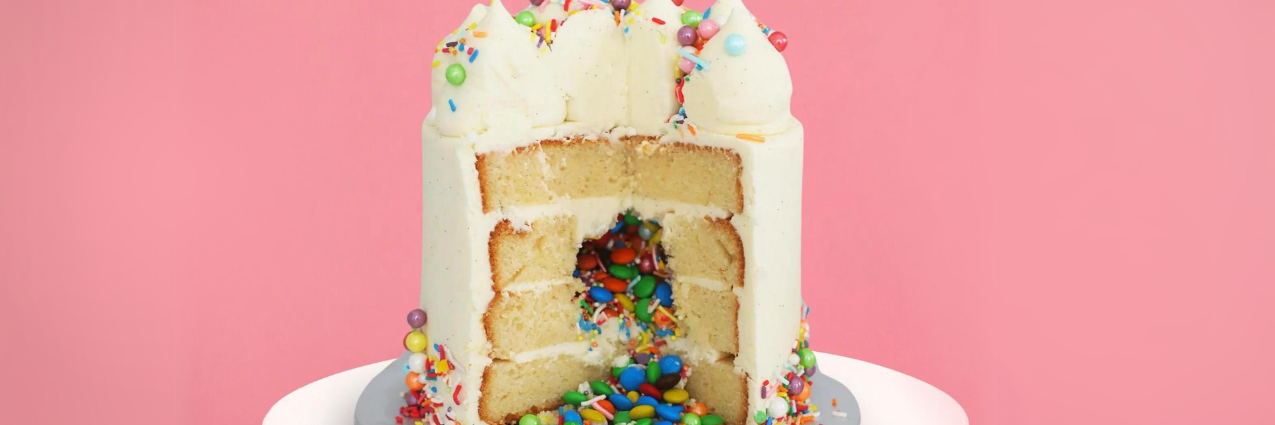
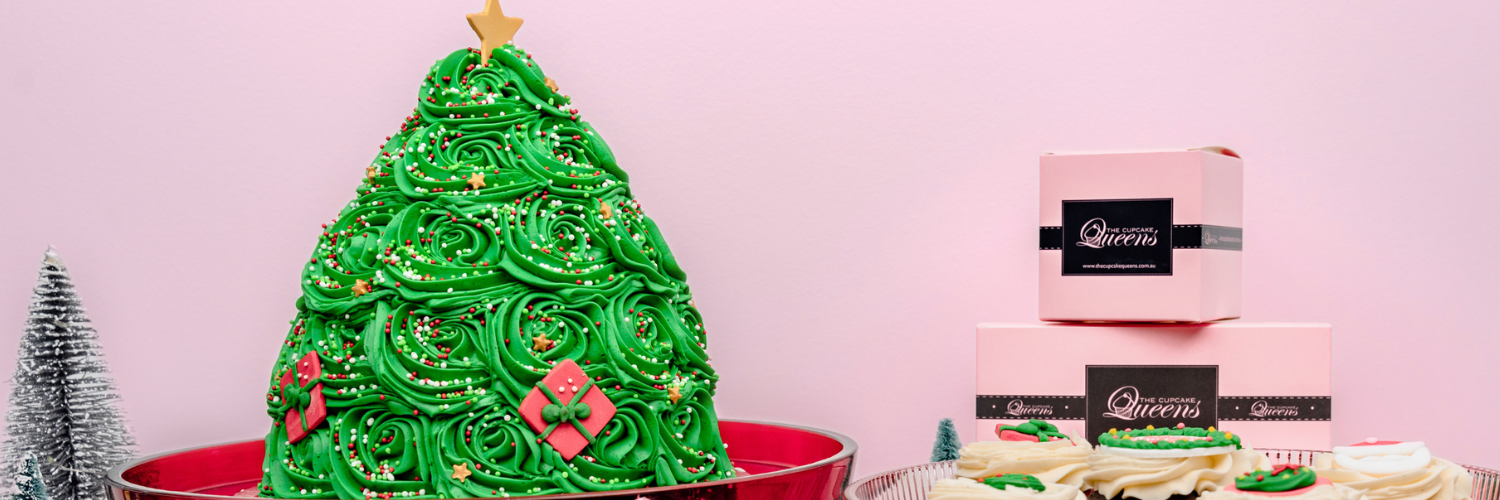
Looking to add a bit of fun and flair to your next celebration? A Chocolate Smash Cake is the perfect show-stopper! It's not your typical cake—it's a hollow chocolate dome filled with lollies, chocolates, and sprinkles. Kids love smashing it open to discover the hidden treats inside—and it’s just as much fun to make as it is to smash! Follow this guide to create your own, or save time and order one from The Cupcake Queens, where we’ve already done all the hard work for you!

What You’ll Need:
- 200g of high-quality chocolate melts (milk, dark, or white—your choice!)
- A bowl or dome mold (to create the chocolate shell)
- Assorted lollies, chocolates, and sprinkles for the filling
- Edible decorations like edible glitter or confetti (optional)
- A small wooden hammer or spoon (for the smashing fun!)
Step 1: Melt the Chocolate
The first step is to melt the chocolate. You can do this in the microwave or using a double boiler. If you’re using a microwave, heat the chocolate melts in 30-second intervals, stirring after each one to avoid overheating. Keep going until the chocolate is smooth and silky.
Step 2: Create the Chocolate Shell
Use your bowl or a dome mold to shape your chocolate shell. If you're using a bowl, lightly grease it with oil to help the chocolate release. Spoon or brush the melted chocolate over the balloon or mold, making sure to cover it evenly. For a sturdy shell, it’s best to do two layers, letting the first one set before adding the second.
Step 3: Let the Chocolate Set
Pop your mold into the fridge for about 30 minutes, or until the chocolate is completely hardened. You’ll know it’s ready when it feels firm to the touch.
Step 4: Pop and Remove
Gently remove the chocolate from the mold. You should be left with a beautifully smooth, hollow chocolate shell. Handle with care to avoid cracks!
Step 5: Fill with Treats
Now for the fun part—fill the chocolate dome with your favorite goodies! Whether it's lollies, chocolates, mini marshmallows, or even small toys, pack it with all the surprises you want to spill out when it’s smashed. The more colorful and varied, the better!
Step 6: Decorate (Optional)
Want to jazz up the outside? Drizzle some contrasting melted chocolate on top, or sprinkle it with edible glitter or confetti. This is your chance to make the smash cake look as exciting on the outside as it is on the inside!
Step 7: Smash and Enjoy!
When it’s time to serve, place the chocolate smash cake on a sturdy surface and hand out small hammers or spoons. Watch the excitement as the chocolate shell cracks open to reveal all the sweet surprises inside!

While making a chocolate smash cake is definitely a lot of fun, it can also be time-consuming. If you’d rather skip the kitchen and get straight to the smashing, we’ve got you covered! At The Cupcake Queens, we offer handcrafted Chocolate Smash Cakes filled with delicious treats, perfect for your next celebration. Just order online, and we’ll do all the hard work for you. Happy smashing!


